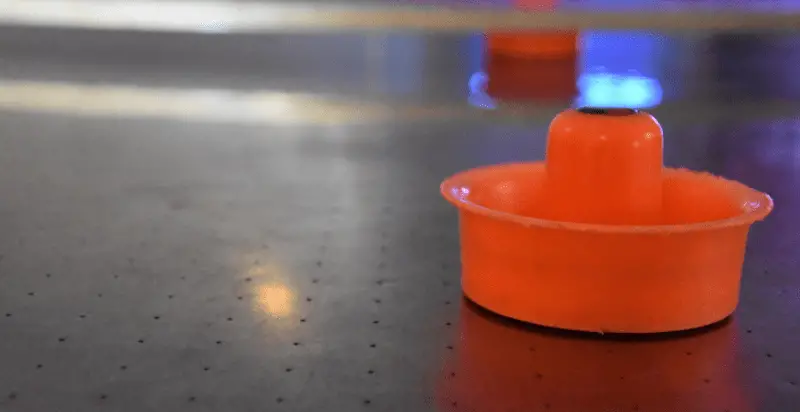
Cleaning the table regularly is a non-negotiable part of maintaining your game quality, let alone sustaining the lifespan of the table itself. If it sees a lot of action, it will accumulate finger prints, grease marks, rogue hairs, dust, and crumbs.
At best, a grubby surface will add friction to your mallets and pucks. Worse, the muck could gather in the air holes, creating airless zones where speed and momentum go to die. Funnily enough, these are called “dead spots” or “dead zones.”
If you’re considering a table for yourself, to be bought voluntarily and with enthusiasm, you’ll want to know what’s involved in the upkeep.
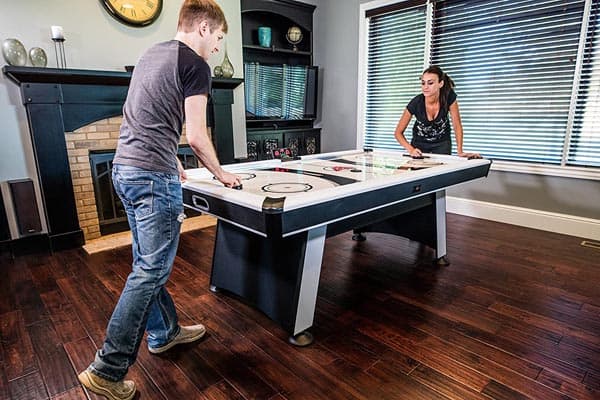
If you’ve been sweet-talked into buying an air hockey table for your home by wide-eyed offspring, you may be wondering at this point whether it would be less work to convince your kids of the wonders of playing pool.
There are indeed many, many fabulous things about pool. But don’t forget that you’d still have to maintain the quality of the felt.
Either way, you’ll be glad to hear that cleaning an air hockey table is pretty straightforward. To begin with, gather up:
- a tub of clean water
- five cloths (ideally microfiber)
- rubbing alcohol
- a pot of cleaning slime
- Wooden furniture polish (optional)
- And table or shuffleboard wax (also optional) in non-powdered form.
If you’re not keen on the idea of buying slime just to keep your table clean, bear in mind that it’s also brilliant for cleaning computer keyboards, cutlery drawers, car dashboards, and the murky depths beneath your car seat.
Once you’re properly equipped then put some good music on and get cracking.
Doing the Easy Part First
Give the entire frame (everything but the perforated surface) a rub down with a dry cloth to get the worst of the residual dust and dirt off.
With a dampened microfiber cloth, go over the frame again using water with a very weak dilution of dish detergent. Clear away any marks along the sides, tops, or legs.
The cleaning slime will help you clear up the scoreboard, puck stops and goal gap, which feature narrow niches and awkward corners which no cloth or duster can quite seem to get to.
Even with an 8-foot table, this first stage of the job won’t take you many minutes.
Cleaning the perforated surface
Thankfully, although this part of the process is time consuming, it’s not as fiendishly awkward as you’ve possibly been dreading. That said, it’s a lot more efficient if you step through the process in a particular order. If you do this monthly, then it’ll turn into the work of minutes.
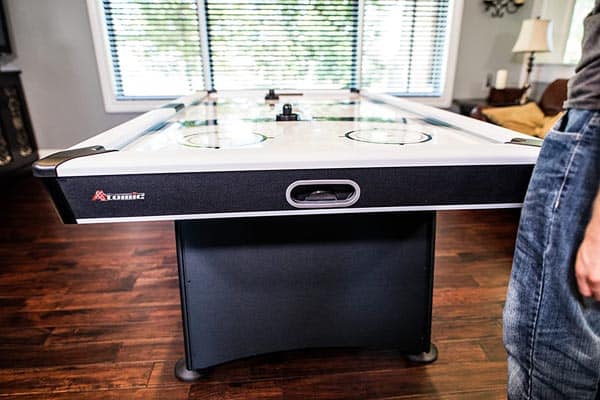
Stage 1: Unclog the holes
At 1mm wide, air hockey table holes are typically too small to fit any part of a cocktail stick but the thinnest, stabbiest tip. Using sewing needles isn’t ideal either because if you push hard against a stubborn clog, the sudden jerk from pressure to free movement can have you dropping the needle into the hole and under the table.
The rattling noises this causes, we’re told, is annoying enough to turn your hockey A-game into a thing of history.
However, chatting to air hockey enthusiasts reveals all manners of intriguing life hacks.
Finding the clogged holes is easy enough: use your fingertips to detect an absence of airflow and mark the spot to return to. One particularly playful (and methodical) table hockey fan fills his table with polystyrene peanuts, turns the air on, and then notes where he’s not seeing any levitation or movement.
Let’s assume that, with or without peanuts, you have identified your clogged holes. What do you do about them?
Firstly, you could unclog the holes which are only sealed on the surface. Your cleaning slime works nicely for that. A good quality slime pulls out a surprising amount of muck without leaving a trail or mark. Don’t worry if it leaves the surface slightly tacky. We’ll deal with cleaning up the residual mess shortly.
Secondly, you can apply strong, pinpointed suction. Wine bottle vacuum pumps are popular. Even better, they work with the fans to draw the muck out of the hole and drop it back onto the surface, where you can clear it away.
For the really stubborn clogs, use an interdental flossing brush to poke the blockage clear. The ones with the plastic handles are best. You can gently apply a sawing motion and pressure without the brush bending uselessly. Gently twist and turn the tip until you have a free airway.
You should now have an unclogged albeit gritty and dusty surface.
Stage 2: Clear the surface
There are two options here. You can vacuum the worst of the residual dirt from the surface if you have a handheld device or a hose extension with a 45° angled tip.
The alternative is wiping your surface down with a microfiber cloth. These cloths are going to become your best friends.
Rather than cleaning chemically (using water on the cloth as adherents to detergent molecules, which pull away from the surface, taking dirt with them), microfiber cloths clean mechanically.
This happens because dirt molecules get trapped between the countless tiny plastic fibers and pull away from the surface as if tweezered. Just dampen your cloth slightly and you will lift the dirt from the surface rather than smearing it around in an annoying and unsatisfactory manner.
For those irritating corners which gather dust like Pooh gathers honey, put that cleaning slime back to work one third and final time to clean up the awkward spots that even a cloth passes over.
Stage 3: Clean and Polish the Surface
To avoid repetition through the various steps, it might be helpful for us to point out that any substance you wish to use on the surface of your table should be applied to a soft cloth and then wiped across the table.
Avoid any kind of soap or detergent and do not apply anything to the table directly or you’ll simply have to unclog all the holes you’ve just carefully unclogged. That’ll be half an hour of your life you’re not getting back.
Before you start cleaning, turn on the fan. You can cut through most marks and grease stains with a little rubbing alcohol. Apply gently to scruffier spots, using small motions to clear them away. Once you’ve dealt with the more conspicuous scuffs, then sweep the alcohol wider, cleaning off the whole table.
Now turn off the fan and let the table dry completely before you move to the polishing phase.
If you have a wooden surface air hockey table, then you can give your arms a workout by buffing it with a little furniture polish. Use a very modest quantity and polish the table one section at a time. Turn the fan on for a few seconds, and then buff once again.
If your table has a laminate surface, then you can still use a good furniture polish to protect it and give it that extra slickness. Just apply sparing amounts to a cloth and wipe it gently across the table using wide, light motions. Leave it for a few minutes and then buff clean.
Finally, it’s worth mentioning silicone spray. Some real high-speed air hockey enthusiasts claim that using shuffleboard silicone for that extra slickness raises the fun and speed to a whole new level. Sun Glo is a popular brand.
Is it safe? Well, yes, but only if applied cautiously.
If you choose to experiment with this approach, then give the wax powder a hard pass and mist your cloth with the spray. It is easy to be lulled into spraying the silicone wax onto your table because of the aerosol delivery.
Just bear in mind that while the spray itself isn’t chemically incompatible with your table surface, the misted delivery is certainly incompatible with your air holes. This isn’t an issue with a shuffleboard or it would be packaged differently.
Waxing the table is a good idea on principle. If applied carefully, then it can extend the working life of your table. Not only does it make for a faster game, but it also gives the table an extra layer of protection from disasters such as small children with crayons, droplets of staining drink, or scuffs.
How often should you clean the table?
Unless you’ve made a particularly impressive mess, you can probably get away with cleaning the frame every other month.
To limit the frequency of your deep cleans and the extent to which you need to carry them out, we suggest:
- Wiping down the perforated surface with a microfiber cloth after every use
- Keeping your table under a cloth or blanket when not in use
- Carrying out the moist clean of the surface with the alcohol rub once a month.
Even if your table continues to function perfectly, with no dead spots or weak air flow, then we suggest a six-monthly excursion beneath the table with a screwdriver to have a look at the fan and motor mechanism. It is easy to remove and reinstall.
If the prospect makes you nervous, then you could simply use a handheld vacuum to carry out a superficial clean of the fan blades. Once you’ve done that, think of a way that you can bribe a mechanically gifted friend into removing the unit so that you can wipe it down properly.
And don’t forget to have fun in between.
[no_toc]

I’m Lia and I love playing games. I started this site to share things with friends and they encouraged me to post more and now I’m trying to share things with the world – indoor and outdoor sports, and board and bar games. I write about things like Bocce, Croquet, Billiards, Darts and other fun ways to enjoy time with your friends and family!

